Category Archives: Teaware

My dog ate my matcha whisk

We have this thing we used to do called #TeakuTuesday. Every Tuesday a group of us would write tea-related haiku and post them on various social media, or just share them at the tea shop. That tradition died out years ago, but I’m working to bring it back on Instagram (see @TeaWithGary). This was today’s. And yes, today is Wednesday, but I’m doing them more frequently for a while until it catches on.
And in case you’re wondering, yes this did happen. We got a new dog. She’s about a year old (she’s a rescue, so we’re not sure exactly), and she’s a husky/bulldog cross. And I screwed up. I left a bunch of my teaware on a low enough shelf that she could reach it. She ignored the gaiwan, the matcha bowl, the pots, the cups, the gongfu tray, and (thank goodness!) the books.
But that matcha whisk must have looked like it would be fun to chew on. Or perhaps she liked the faint scent of matcha. I do clean it each time I use it, but that aroma persists. In any case, I’m down a whisk. Oh, well. It could be worse.
Grumpiness alert!
As long as I’m talking about Instagram, let me add a bit to this story. The go-to social media platforms for tea bloggers and other tea industry folks were Facebook and Twitter. I’m off of Twitter now that Elon Musk bought it and turned it into X, so I turned to tea friends to see where the action is these days.
Instagram, they said.
I have an Instagram account that I set up years ago. I messed with it for a few days, posted a few pictures, and moved on. A couple of weeks ago I figured it was time to get back at it, so I created @TeaWithGary. It was promptly suspended because it “looked like I was trying to impersonate someone.” I challenged the suspension and got the account back in a day or two.
I’m not sure of the etiquette on Instagram, but I figured that as I get going, every time someone follows me I will follow them back. I was off for a day and a half (long drive), and found about a dozen new followers when I signed back in. I went down the list hitting “Follow” on each one. After about eight of them, I got this:

It was two days before I could follow someone again. I tried hitting “Report a problem,” but Instagram promptly crashed. As of this morning, everything was working again. I started hitting that Follow button for my new followers, and it locked me out of following anyone after the 6th one.
Is Instagram really this annoying for everyone? Do people love it, or do they just tolerate it because that’s where the people they want to follow are? Oh, well, if you can enlighten me, please do so in the comments below or follow me on Instagram. Hopefully, I’ll be able to follow you back soon!

Curing your mate gourd

If my article about yerba mate inspired you to try the traditional South American method of drinking yerba mate, you’ll need to get yourself a mate gourd.
As a reminder, it’s pronounced MAH-tay, it’s spelled “mate” in Spanish, and often spelled “maté” in English as a hypercorrection to differentiate it from the English word “mate.”
You can find mate gourds in many tea shops and just about any place that sells loose-leaf yerba mate. There are zillions of online sources as well, but if you like being able to see the actual gourd you’ll be buying, you’ll probably end up in a brick-and-mortar shop.

Once you get the gourd home, don’t just start drinking from it. Before using your new gourd for the first time, you’ll need to cure it to assure the best flavor and longest gourd life. Here’s the process:
- Put a couple of tablespoons of dry yerba mate leaf in your gourd.
- Fill it all the way to the top with hot water, but NOT boiling water! Boiling water can crack your gourd.
- Let it sit for 24 hours, and then dump out the liquid and the leaves. Don’t drink it. It will taste horrible.
- Thoroughly rinse the inside of the gourd with hot water.
- Gently scrape the inside of the gourd with a spoon. Don’t use a knife. Be careful scraping around the stem at the bottom; if you take out the stem, your gourd will leak.
- Dry the gourd completely. Set it upside down on a drying rack or prop it up where air can circulate and moisture can drip out.
Congratulations! Your gourd is now ready to use.
You only have to go through this curing process once, but you’ll want to make sure to rinse and dry completely after each use or you risk growing mold inside it. Don’t use soap! It can soak into the porous surfaces of the gourd and ruin the flavor of the mate next time you use it. A good rinse with warm water will do the trick.
Over time, the inside of your gourd will become stained, taking on the green color of the mate leaf. Don’t worry about it. That’s just a sign of a well-seasoned gourd.

A Matcha Mill at World Tea Expo 2014

Last week at World Tea Expo 2014, most of my time was focused on finding new things. I tasted new tea blends and fresh varietals, while browsing through billions of new gadgets, accessories, and tea-related products. I did try to make time to visit with our existing vendors and friends, and when we stopped at AOI, the company we buy our matcha from, I found something old rather than something new.
Have you ever looked at matcha powder and wondered how it’s made? Oh, it sounds very simple: take some high quality Japanese steamed green tea and powder it. But how do you powder it? Today, there are high-volume machines for absolutely everything, but matcha has been around for a very long time (see my posts about matcha and the Japanese tea ceremony for more information). How did they make matcha before the advent of machines?
AOI had the answer in their booth: a hand-carved millstone designed for tea leaves.

The upper stone has a hole in the top where dried tea leaves are inserted, and a vertical wooden shaft in the lower stone keeps it centered. There are grooves that move the ground-up leaves out to the lower stone’s dish. Of course, I had to try it, and then I made a short video of my daughter, Gwen using the mill:
I saw a lot of cool gadgets, but this is the one I’d like to have sitting next to my desk at home. Unfortunately, it wasn’t for sale…

How Are Samovars Used?

Following up on last month’s coffeemaker post, I was reviewing search results that brought people to my blog again and found a question I really didn’t answer. The search was about how to use a samovar to make tea. In my other samovar post, I talked about what samovars are, but not so much about how to actually use one. Let’s see if I can rectify that situation.
A traditional samovar has two parts: the water heating unit and a small teapot on top. Originally, the water was heated by coal or charcoal, with a chimney rising through the center. Nowadays, electric samovars are common — as much as you can call a samovar “common,” anyway. Either way, you can draw the hot water off from a spigot near the bottom. The spigot is visible, albeit not too clear, on the Turkish samovar pictured in this post.
The samovar would sit in the center of the room (and would help to heat the room, in fact). The main compartment of the samovar contained only water. The little teapot on top was loaded with rich black tea and allowed to steep all day long. When anyone wanted a cup of tea, they would pour a bit of the strong tea from the pot and then fill the cup the rest of the way with hot water.
After steeping that long, and being brewed so strong, the tea would be quite bitter. Depending on whether the samovar was being used by Russians, Turks, Georgians, or some other group, they might add anything from sugar to yak milk to the tea to cut the bitterness.
Today, the main compartment of the samovar may be used to brew tea — or just to keep it hot after being brewed in another vessel. That way, you can serve the tea from the spigot at the bottom of the samovar. The pot, if present, is often simply ornamental.

Why Does My Tea Taste Like Coffee?

I try not to obsess over web statistics, for that way lies madness. I do, however, enjoy looking over what web searches bring people to my humble tea blog. One caught my eye today, as it seemed to be just begging for a blog post: “Why does my tea taste like coffee”?
I mentioned in my Keurig K-Cup post last month that the tea it produced did not taste like coffee. There’s a reason that was notable enough to mention: every other coffeemaker I’ve ever used is unable to produce decent tea once it’s been used for coffee. The oils in the coffee may clean off of the glass from the carafe, but they will impregnate the plastic parts of the coffeemaker and there’s not a darned thing you can do about it.
If you want to perform a test, try running a pot of plain hot water through the coffeemaker and take a deep sniff. Then take a sip and hold the hot water in your mouth for a moment. If you can detect coffee at all, then you aren’t going to be able to brew a proper cup of tea from that water.
If, however, you brew mostly strong black teas and don’t detest coffee, you can reach an acceptable compromise. Run that plain water through, but this time add a couple of tablespoons of vinegar to it. It will take another few pots of plain water to get the vinegar smell out, but it will help with the coffee. Once you’ve done that, run one last full carafe of plain water with a tablespoon of bleach. Rinse everything thoroughly and let it dry overnight.
It’s not something you can do with a hotel coffeemaker, but if you want to switch your coffeemaker into a hot water maker for tea, this is a great start.

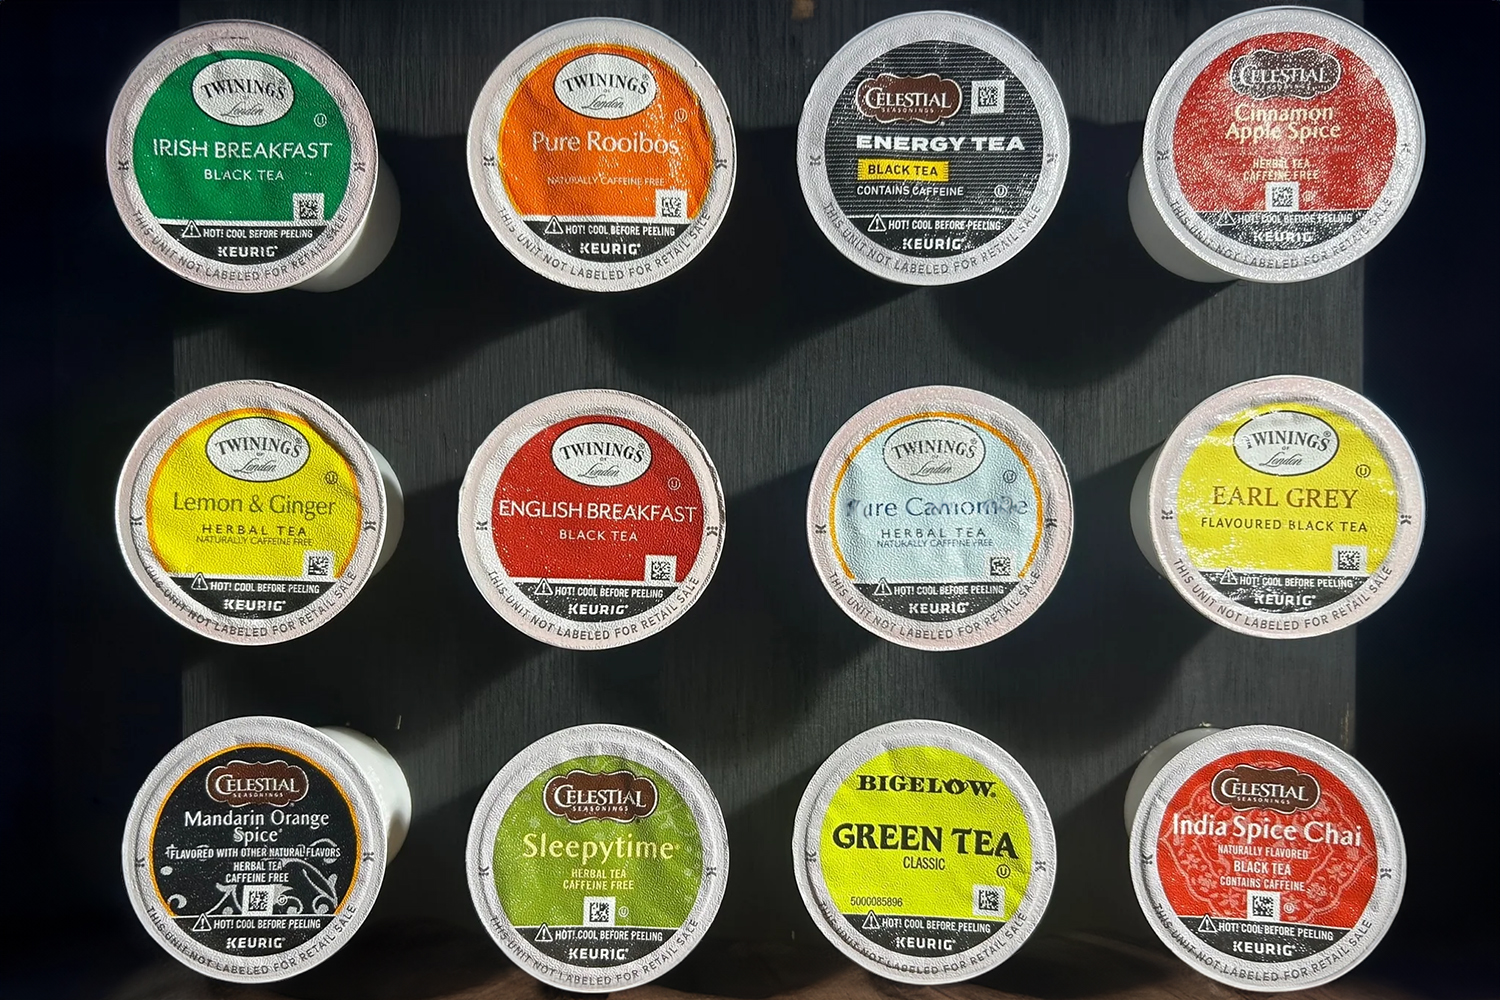
Keurig K-Cups and Tea
We checked into the Lake Hotel in Yellowstone last week for the latest stop on my book signing tour. As usual, I schlepped in all of my tea stuff so I could have a decent cup in the morning: electric kettle, teapot, a selection of loose-leaf tea.
Frequently, hotels have coffee makers in the room (unless you’re in Las Vegas), but I don’t like having my tea water taste like coffee, so I don’t use them.
In this room, however, was a Keurig® B130 In-Room Brewing System, the kind that uses the single-serving K-Cups. The sampling of K-Cups in the room included two regular coffees, two decaf coffees, one tea, and one herbal blend. I decided to give their Celestial Seasonings English breakfast tea a try. For some reason, Celestial Seasonings decided not to capitalize “English.” Because of my Scottish heritage, that makes me smile, but that’s irrelevant to the subject at hand.

Following their instructions, I took the sealed cup, which had its lid puffed out from the altitude, and inserted it in the machine. When I closed it (puncturing the top & bottom of the cup), the top of the coffee maker popped open. I added a cup of water, set the mug in its place, and looked for adjustments. Finding none, I just pressed “brew.”
The cup was ready surprisingly fast (one point for the machine), with much hissing and burbling. And it tasted like … your basic cup of breakfast tea in a restaurant. I don’t take milk or sugar in my tea, so I use shorter steeping times than the British generally do. Unfortunately, there are no adjustments on this machine, so I got a stronger, more astringent brew than I wanted. Minus one point.
I couldn’t taste any coffee at all in my tea — and I am pretty sensitive to that flavor — so that’s plus one point.
After my wife removed the tea K-Cup and made herself some coffee, I decided to see if I could get a second infusion out of the tea. I carefully lined up the puncture hole on the bottom of the cup and reinserted it. I followed the rest of the process as before, and got a pretty decent second cup. It was weaker than the first, of course, and similar to what you’d get if you reused a tea bag.

Opening the used cup gave some insight into the workings. As you’d expect with a mass-market breakfast tea, they used CTC (crush, tear, curl) processed leaves, broken into quite small pieces. This provides the large surface area needed for the accelerated brewing process Keurig uses.
I understand you can purchase special empty K-Cups to fill yourself. It would be interesting to play around with whole-leaf teas and tweak the amount of leaf. Unfortunately, since you can’t adjust water temperature, the Keurig would destroy delicate white or green teas, and since you can’t adjust steep times, it would produce bitter oversteeped pu-erh or Darjeeling.
Interestingly, I took a look at the list of tea K-Cups on Keurig’s website, and it does include green and white tea. I’m guessing that their target audience probably uses boiling water in green tea anyway, and doesn’t realize it’s not supposed to taste like that. Most of their 50 selections are black tea, of course, and many are herbal tisanes rather than tea. There are a couple of chai selections there, and I’m guessing those would work.
In conclusion, if you’re looking for a fast, easy way to replicate your basic restaurant-style black tea, the Keurig will work admirably. If you want more than that, it’s a lot cheaper to buy an electric kettle and an IngenuiTEA, and you’ll get much better tea, too. The Keurig Brewer is at heart a coffee maker, and using it for making tea is like driving nails with a wrench: you can do it, but it’s a sub-optimal solution.

New toy! A Russian samovar
We have mostly modern equipment in the tea bar and at home. The Zojirushi water heater does a fabulous job of bringing water up to temperature and holding it there, with multiple selectable temperature ranges and thermostat. But I’ve always loved traditional equipment, and I’m fascinated by the ways different parts of the world prepare their tea.

I just purchased a Russian samovar (literally translated: self-boiler) made in 1980. Traditional metal samovars in Russia date back to the early 1700s, when they used charcoal or other fuels to heat the water. A “chimney” ran vertically through the middle of the samovar, where the fuel generated the heat. The vessel was filled with water that would be drawn from a tap on the bottom. Often, a teapot was placed directly on top, so there would be concentrated prepared tea in addition to the heated water surrounding the chimney.
One of the things I’ve always loved about samovars is their steampunk look. The metal is often beautifully worked and etched or engraved. My new one is made of brass plated with silver/nickel. The samovar is designed for a communal tea setting, where it is kept going all day long, and the condensed tea in the pot is diluted by the boiling water in the main chamber every time someone wants a cup.
My new samovar is about 18 inches tall, and powered by good old-fashioned electricity. Since Russian AC power is 220 volt, I’m going to need to make or buy an adapter to let me run it on 110 volt U.S. power, but that’s pretty easy. Given its size and weight, I think I’ll find it a spot to live at the tea bar instead of trying to take it with me wherever I go.
I think this will be a great way to enjoy some of the Russian Caravan tea that I like to drink in the afternoons. Or maybe I’ll get cross-cultural and use it for some Mr. Excellent’s Post-Apocalyptic Earl Grey. No need to be a tea Nazi, right?
